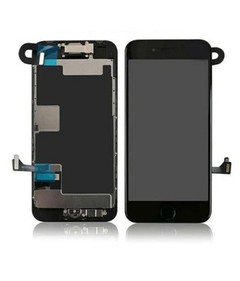
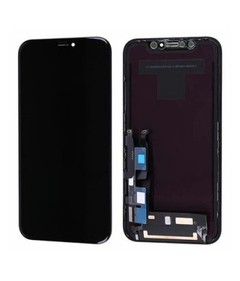
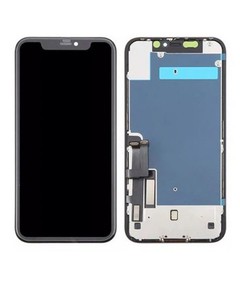
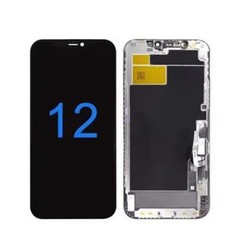
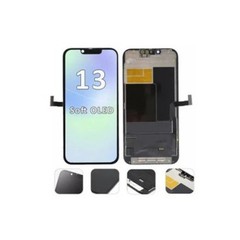
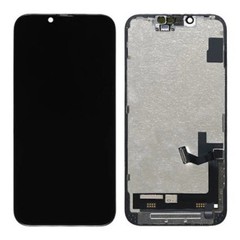
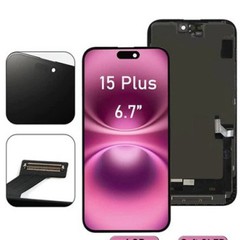
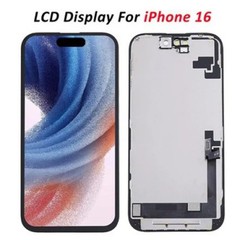
Three years ago, one of our longest-standing clients - a distributor supplying repair shops across the Netherlands - switched suppliers. Not from us, but from a competing factory to us, after a QC problem that cost him more than he'd like to admit.
The story isn't unusual. He received a batch of iPhone 12 Pro Soft OLED screens from a new supplier he'd been trialing, installed them across a week of repairs, and then the callbacks started. Not all of the screens - maybe 15 out of 80 in that batch. But the pattern was specific: a faint yellowish tint in the lower-left corner of the display that wasn't visible in normal room lighting but appeared clearly on a white background in daylight. Customers noticed it. Some complained immediately. Others noticed weeks later when the issue became more pronounced.
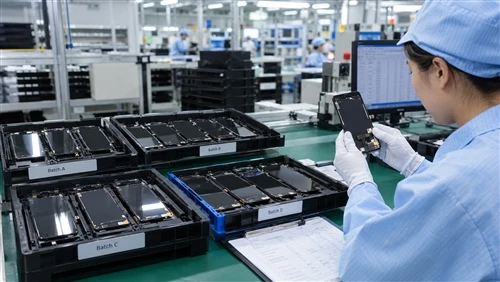
The failure mode was mura - a manufacturing term for luminance or color non-uniformity in a display panel. Mura, dead pixels, and gamma inconsistencies represent the most common quality failures in aftermarket phone display components, and automated optical inspection (AOI) at the manufacturing stage is the primary mechanism for catching them before shipping. The supplier he'd been trialing wasn't running adequate AOI on their production line. The batches passed a basic functional test - screens lit up, touch worked - but the mura defects that would only manifest under specific lighting conditions made it through undetected.
The lesson: functional testing and quality inspection are not the same thing. A screen that powers on is not a screen that passes quality inspection. That distinction is the entire subject of this article.
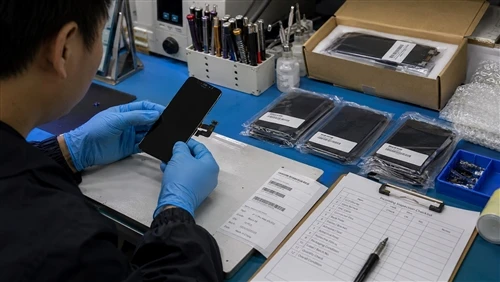
What follows is the 9-point iPhone display parts quality inspection framework we use at our factory - and that we recommend every wholesale buyer and repair shop adopt as their incoming inspection process. Whether you're evaluating a new supplier's sample screens or processing a fresh shipment from an existing partner, this framework gives you the tools to catch problems before they reach your customers.
Why Quality Inspection at the Wholesale Level Is Not Optional Anymore?
In the early years of the iPhone aftermarket parts market, inspection was largely about whether a screen turned on and whether touch worked. The grade categories were simpler, the technology was less complex, and the customer expectations for "repair quality" were lower.
That environment no longer exists.
As OLED displays become standard in high-end mobile and tablet devices for their superior contrast and color, maintaining display consistency has become increasingly challenging. Each OLED pixel contains red, green, and blue subpixels that emit light independently, but differences in subpixel brightness lead to uneven luminance and colour non-uniformity affecting image quality.
iPhone customers in 2026 are using devices with 120Hz ProMotion displays, True Tone color adjustment, and Ceramic Shield glass. When a replacement screen doesn't visually match what they're used to, they notice - and they have the vocabulary from YouTube repair channels, Reddit forums, and right-to-repair consumer campaigns to describe exactly what's wrong.
Panel-to-glass adhesive quality affects touch sensitivity more than driver IC specs - especially after screen replacements. Underreported but critical failures in this category account for a significant proportion of post-repair complaints that appear to be screen-related but are actually bonding failures.
For wholesale buyers, this raises the stakes of incoming inspection beyond what it was even three years ago. A failed screen that gets installed is not just a parts cost - it's a customer relationship cost, a labor cost, and increasingly a review-score cost that affects the shop's ability to compete for new customers in a market where online reputation is a primary decision factor.
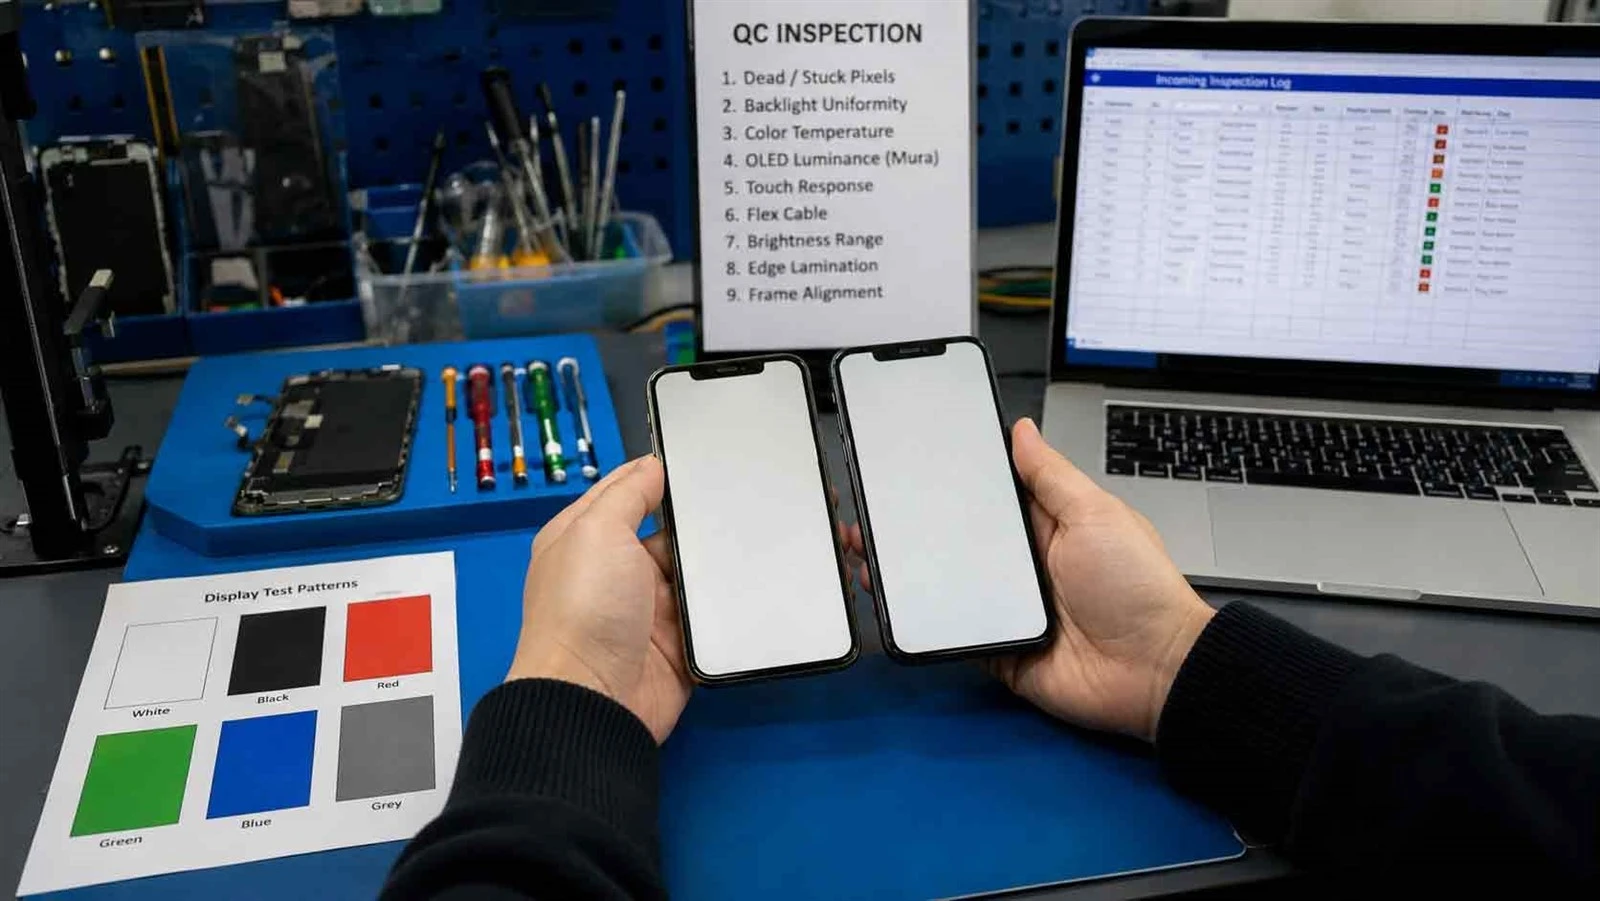
Part 1: The 9-Point iPhone Display Quality Inspection Framework
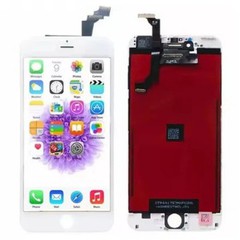
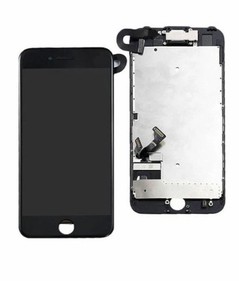
This framework applies to all iPhone screen grades - Incell LCD (iPhone 6 through 11), Hard OLED and Soft OLED (iPhone X through 16), and Original Refurbished. The specific failure modes vary by display technology, and we'll note where the test methodology differs.
Check 1: Dead Pixel and Stuck Pixel Detection
What you're testing for:
Individual pixels that either fail to illuminate (dead pixels, appearing as permanent black dots) or are stuck in a single color state regardless of what the display is showing (stuck pixels, appearing as bright colored dots that don't change).
How to test:
Display the screen on a solid color background - full white, full black, full red, full green, full blue in sequence. Run each color for 30–60 seconds and inspect the entire panel surface systematically. Dead pixels appear as black dots against bright backgrounds; stuck pixels appear as colored dots that don't match the displayed color.
Essential OLED test patterns for dead pixel detection include full-screen solid colors - typically pure black, white, red, green, and blue - to detect brightness uniformity and color consistency, along with greyscale gradients to reveal subtle brightness inconsistencies or color shifts.
What's acceptable:
Industry standard for wholesale iPhone screens is zero visible dead or stuck pixels. A single clearly visible dead pixel within 3cm of the screen center is grounds for rejection. Manufacturers who claim "1–2 dead pixels are within spec" are applying a tolerance more appropriate for laptop monitors, not smartphone displays viewed at close range.
Technology note:
On Incell LCD panels, stuck pixels in a fixed bright color are more common than on OLED. On OLED (Hard or Soft), dead sub-pixels that cause a dark spot are the more common failure mode due to OLED's self-emissive pixel structure.
Check 2: Backlight Uniformity (Incell LCD Only)
What you're testing for:
Uneven illumination across the display surface - brighter patches near edges or corners, darker zones, or the "flashlight effect" where one area of the display is visibly brighter than the rest.
How to test:
Set screen to full white at maximum brightness. View in a dark room or low-light environment. Inspect all four corners, all four edges, and the center. The transitions should be smooth and invisible. Any visible bright or dark patches, particularly at edges, indicate backlight uniformity failure.
Professional brightness uniformity standards use a 9-point measurement method covering the center, four corners, and four midpoints. The maximum allowable brightness difference between any two measurement points is 15% for standard grade panels and 10% for professional grade. On all-black screens, poorly manufactured panels can show edge brightness 15–20% higher than center - a common failure on budget-tier LCD panels.
What's acceptable:
No visible bright patches or dark zones to the naked eye at arms-length viewing distance at maximum brightness on a white background. Any visible non-uniformity visible from a normal viewing distance is cause for rejection on a wholesale supply.
Technology note:
This test is primarily relevant for Incell LCD screens. OLED panels (Hard and Soft OLED) use self-emissive pixels rather than a backlight, so the failure mode is different - look for luminance uniformity instead, covered in Check 4.
Check 3: Color Temperature Accuracy and Batch Consistency
What you're testing for:
Whether the screen's color temperature matches an OEM reference panel, and whether it matches other screens from the same batch.
This is the most consequential quality check for wholesale buyers who are stocking multiple units, and it's the one most commonly skipped in incoming inspection because it requires reference comparison, not just standalone testing.
How to test:
Place the screen being tested next to a known good reference - ideally an OEM Apple display from the same iPhone model, or a previously verified high-quality screen from a past batch. Display the same white background on both at the same brightness setting in the same lighting conditions. Any visible color temperature difference - one appearing warmer (yellower) or cooler (bluer) than the other - is a calibration variance.
Calibration of OLED and QLED panels involves adjusting settings like contrast, gamma curves, brightness, and colour temperature to ensure accurate image reproduction. Accurate colour calibration is essential to deliver high-quality visuals, and precise colour reproduction allows users to fully appreciate content without display-induced distortion.
What to ask your supplier:
At the factory level, proper color temperature verification uses a spectrophotometer measuring Delta E (ΔE) - the numerical measure of color difference. A ΔE below 2.0 is generally considered accurate enough that the difference is not visible to the naked eye. A ΔE above 3.0 is visible under direct comparison.
Colorimeter tests showing a color difference ΔE of 3.5 between corners and center (above the passing grade of ΔE < 2) produce corners that appear yellowish or bluish requiring manual calibration. Ask your supplier: "What is your ΔE threshold for passing batches, and can you provide spectrophotometer data from the last three production batches for this model?"
What's acceptable:
No visible color temperature difference versus an OEM reference panel under identical conditions. If you're seeing a perceptible color shift under comparison, document it and raise it with your supplier before the batch ships, not after installation.
Check 4: Luminance Uniformity (OLED-Specific)
What you're testing for:
On OLED screens (Hard OLED and Soft OLED), the failure mode equivalent to backlight non-uniformity in LCD - areas of the display that appear brighter or dimmer than surrounding areas, or color patches (mura) that appear under certain display conditions.
How to test:
Display a solid mid-grey background (approximately 50% brightness grey, not full white or full black) at full brightness. Examine the panel in a controlled lighting environment, angling the display slightly rather than viewing straight-on. Mura defects that are invisible at a straight-on angle often become visible when the display is tilted 15–30 degrees from perpendicular.
Mura refers to uneven brightness or colour patches across the OLED panel surface. Organic layer uniformity inspection uses microscopic and spectrometric tools to verify the evenness of organic emissive layers - variations in which cause uneven brightness or colour across the panel. Contamination detection in organic layers is equally critical, as impurities shorten lifespan or cause visual defects.
The test that catches what straight-on viewing misses:
Use a pure grey screen (roughly RGB 128,128,128) rather than white. Mura defects that are invisible against a white background at normal viewing angle are often clearly visible on a mid-grey background at a slight viewing angle. This is the specific test that would have caught the problem in the Dutch distributor's story I opened with.
What's acceptable:
No visible luminance patches, discoloration zones, or brightness inconsistencies visible at any normal viewing angle on a mid-grey test pattern.
Check 5: Touch Response and Accuracy - Full-Surface Mapping
What you're testing for:
Dead zones where touch input is not registered, areas of reduced touch sensitivity, ghost touch (phantom inputs without contact), or edge degradation where corners or borders don't register reliably.
How to test:
Draw continuous diagonal lines from corner to corner across the full display surface using a soft-tipped stylus or finger, at normal touch pressure. Draw lines specifically through all four corners and all four edges. Use a multitouch test - place two fingers simultaneously in different screen quadrants and verify both register.
Testing touch screen functionality comprehensively involves drawing lines across the screen using multiple fingers at once. Corners and edges are the weakest areas and should be tested carefully to avoid future complaints. Ghost touch - when the screen registers touches without contact - often occurs intermittently; leave the screen idle and observe for random movements that indicate problems.
Ghost touch detection:
After active touch testing, place the device on a flat surface and leave the screen on for 3–5 minutes while watching for any spontaneous inputs registering without contact. Ghost touch from a flex cable that isn't correctly seated sometimes only manifests after the device stabilizes at operating temperature - checking for it immediately after installation isn't always sufficient.
Panel-to-glass adhesive quality affects touch sensitivity more than driver IC specs, especially after screen replacements. A screen that passes touch testing immediately after installation but develops ghost touch after a week of use almost always traces to inadequate adhesive between the touch layer and the glass surface - a manufacturing quality issue that pre-shipment incoming inspection should catch through the sustained ghost touch observation test described above.
What's acceptable:
Zero dead zones, zero ghost touch events during observation period, full registration across all four corners and edges.
Check 6: Flex Cable Integrity and Connector Seating
What you're testing for:
Whether the flex cable - the ribbon connector linking the display assembly to the device's logic board - is properly manufactured, correctly routed, and shows no signs of damage or degraded connection that will produce failures under normal use.
This is a physical inspection, not a functional test, but it's one of the most predictive checks for field failures that emerge weeks after installation.
How to inspect:
Examine the flex cable ribbon under good lighting for any visible kinks, creases, or areas of stress concentration. A properly manufactured flex cable should lie flat and route without sharp bends. Any point where the cable has been creased or bent at a tight angle is a stress failure that will worsen under repeated daily device movement.
Inspect the connector at the cable end for bent, missing, or contaminated pins. A connector with a single bent pin may seat and establish a functional connection in testing but will produce intermittent failures under vibration and temperature cycling in actual use.
Touch screen tests should visualize touch points and map dead spots - response time measurement should detect ghosting and detect issues that may indicate flex cable degradation rather than panel failure. Many symptoms that present as display failures - intermittent touch response, display flickering, areas of reduced brightness - are actually flex cable failures presenting through the display.
What's acceptable:
No kinks, creases, or stress points on the flex cable ribbon. All connector pins intact, clean, and properly aligned. No visible contamination on contact surfaces.
Check 7: Brightness Range and Maximum Brightness
What you're testing for:
Whether the display achieves adequate brightness at maximum setting, and whether it dims properly at minimum setting - ensuring both ends of the brightness range function correctly.
How to test:
Set the device to maximum brightness (manually, with auto-brightness disabled in Settings > Accessibility > Display Accommodations). Display a full white screen and assess visibility in a well-lit environment. The screen should be clearly readable outdoors in indirect sunlight.
At minimum brightness, the screen should be comfortably readable in a dark room without being uncomfortably bright - testing the low end of the range catches driver circuit failures that occasionally prevent proper dimming.
Reference benchmarks:
- Incell LCD (iPhone 11 and earlier): minimum acceptable maximum brightness approximately 400 nits
- Hard OLED (iPhone X through current): minimum acceptable approximately 500 nits at standard brightness
- Soft OLED (iPhone 12 and newer): minimum acceptable approximately 600 nits at standard brightness
High temperature conditions above 35°C cause OLED screen quantum dot efficiency to drop, with ΔE values potentially rising by 15% - forced cooling required for sustained high-brightness operation. This temperature sensitivity means that maximum brightness tests should be conducted after the screen has operated at normal temperature for at least 5 minutes, not immediately after powering on from cold.
Check 8: Edge and Lamination Quality (OLED Models)
What you're testing for:
On OLED screens - particularly for curved models like iPhone 14 Pro and 15 Pro Max - whether the lamination between the glass surface and the OLED panel is complete and uniform, with no air gaps, edge lifting, or partial delamination that will worsen over time.
How to test:
Inspect all four edges of the assembled screen under a bright directional light (a small flashlight works well) held at a low angle to the screen surface. Any area where light refracts differently at the edge than it does at the center indicates an air gap in the lamination - a bubble between the glass and the panel that wasn't properly pressed out during assembly.
On curved models (iPhone 14 Pro, 15 Pro Max), specifically inspect the edge curves. The curvature creates a higher-stress bonding area that requires both correct adhesive formulation and controlled bonding pressure to seal correctly. Panel-to-glass adhesive quality in curved display assemblies requires specific adhesive formulation and bonding process control that not all aftermarket manufacturers achieve consistently.
What's acceptable:
No visible air gaps, bubbles, or refractive discontinuities at any point along the laminated edge. No edge lifting visible at curved sections. Any visible lamination defect should result in rejection - these defects worsen rather than stabilize under normal daily use.
Check 9: Frame Alignment and Physical Assembly Integrity
What you're testing for:
Whether the display assembly's physical structure - frame, bezel, mounting points - is properly aligned and will seat correctly in the device chassis without gaps, misalignment, or stress that will affect long-term structural integrity.
How to inspect:
Before installation, check that the display frame lies flat on a flat surface with no visible warping. A frame that rocks or shows a visible bow has been stored improperly or was manufactured with inadequate frame material - it will create pressure points against the chassis after installation.
Check the mounting points and adhesive tabs: they should be intact, properly positioned, and not pre-compressed from improper packaging.
Inspect the display cutout for the Face ID sensor assembly (iPhone X and newer) and the Dynamic Island cutout (iPhone 14 Pro and newer) for dimensional correctness. On aftermarket screens, the cutout dimensions occasionally vary from OEM spec - not enough to prevent installation, but enough to create visible gaps around sensor modules that customers notice.
Consistency across units matters more than individual perfection for wholesale and repair operations - a screen that's technically functional but shows visible assembly inconsistency versus other units in the same batch creates customer perception problems that a purely functional test doesn't catch.

Part 2: Quick-Reference Incoming Inspection Table
This table summarizes all nine checks, what failure looks like, and the recommended action for each.
| Check | Test Method | Common Failure | Action on Failure |
|---|---|---|---|
| 1. Dead/Stuck Pixels | Solid color cycling (5 colors) | Black dots or fixed-color dots | Reject unit, document for supplier |
| 2. Backlight Uniformity | White screen in dark room (LCD only) | Bright edge patches, flashlight effect | Reject batch if >5% of units affected |
| 3. Color Temperature | Side-by-side vs. reference | Visible warm/cool shift vs. OEM | Request calibration data; raise with supplier |
| 4. OLED Luminance (Mura) | Mid-grey at 15–30° viewing angle | Visible patches or color zones | Reject batch - mura is not random |
| 5. Touch Response | Full-surface drawing + multitouch | Dead corners, ghost touch | Reject unit; check flex cable seating |
| 6. Flex Cable | Physical visual inspection | Kinks, bent pins, contamination | Reject unit; note for supplier trend tracking |
| 7. Brightness Range | Max/min brightness on white screen | Sub-spec maximum, no dimming | Reject unit; check driver circuit |
| 8. Edge Lamination | Low-angle flashlight along edges | Air gaps, edge lifting | Reject unit - lamination defects worsen |
| 9. Frame Alignment | Flat surface check, cutout inspection | Warped frame, oversized cutout | Reject unit; flag for packaging review |
Part 3: How to Use This Framework With Your Supplier - Turning Inspection Into Accountability
The value of this framework is not just in the inspection itself - it's in the data it generates for supplier conversations. Here's how to use it operationally.
Track Defect Rates by Batch, Not by Order
Every time you run incoming inspection, log results at the batch level: how many units inspected, how many failed, which check they failed, and what the defect looked like (photos where possible). Over time, this generates the most valuable metric in supplier management: batch-specific defect rates compared against the supplier's stated specification.
A supplier who says "our defect rate is 0.6%" should produce batches where your incoming inspection confirms something close to that figure. A supplier whose stated rate is 0.6% but whose batches consistently fail 2–3% of your incoming inspection is misrepresenting their quality - and your inspection data is the proof.
Share Your Inspection Data With Your Supplier
Many wholesale relationships never reach this level of transparency, and it's a mistake. A supplier who receives systematic incoming inspection reports from a client - even when those reports occasionally include batch problems - is a supplier who can trace issues back to specific production parameters and fix them. A supplier who only hears "the quality was bad" has no actionable information.
We actively request incoming inspection feedback from our wholesale clients. When a distributor's incoming inspection identifies a mura cluster on a specific batch of iPhone 13 Soft OLED, that maps back to a production run date and a specific production line that we can investigate. That feedback loop is how our defect rates have decreased year-on-year since 2021.
Use Inspection Results to Evaluate Grade Claims
The most direct way to validate whether a supplier's "Grade A Soft OLED" is actually what they claim is to inspect it against OEM reference panels using the color temperature and luminance uniformity checks above. A supplier confident in their grade claims should be willing to provide their own QC inspection data - spectrophotometer readings, AOI pass rates, batch sampling results - to support your independent incoming inspection.
Automated optical inspection (AOI) at the manufacturing stage catches mura, dead pixels, and gamma inconsistencies before shipping - key to consistency across batches. This is a critical capability that distinguishes manufacturers running serious production QC from those applying only functional testing before shipment.
Part 4: Building a Phone Screen Wholesale Quality Control Process for Your Operation
For repair shops doing moderate volume (30–80 repairs per month), full 9-point inspection on every incoming unit is probably more time investment than is practical. Here's a tiered approach based on order size and supplier history.
Tier 1: New Supplier, First 3 Orders - Full 9-Point Inspection on 100% of Units
When you're establishing a new supply relationship, inspect everything. The time investment up front is the cheapest form of quality insurance available. A 50-unit first order should take an experienced technician 2–3 hours to inspect fully using this framework. The data you collect from those 3 hours will tell you more about that supplier's actual quality than any sales conversation will.
Tier 2: Established Supplier, Consistent Track Record - Batch Sampling at 20%
Once you have 3–6 orders of consistent incoming inspection data showing a supplier at or below their stated defect rate, you can shift to sampling: inspect 20% of each batch (minimum 10 units regardless of batch size) using all 9 checks. Log results. Any batch showing defect rates more than 2x the supplier's stated spec triggers escalation to full inspection of that batch.
Tier 3: Long-Term Partner Supplier, Documented Performance - Incoming Spot Check at 10%
For suppliers with 12+ months of consistent performance data, spot checking at 10% with full 9-point inspection on the sample is reasonable. Maintain the logging discipline - the moment a spot check reveals something unexpected is the moment you escalate to full inspection before any screens go to installation.
The rule that shouldn't be broken regardless of tier:
Never install a batch before any incoming inspection has been completed on at least a sample. The cost of one customer callback from a defective screen - labor, replacement parts, customer attrition - exceeds the cost of 30 minutes of inspection time on a 50-unit batch every time.
Part 5: The Five-Year Quality Landscape - Where This Gets Harder and More Important
Trend 1: OLED complexity continues increasing with each iPhone generation.
ProMotion 120Hz (iPhone 14 Pro and newer) and Ceramic Shield 3 (iPhone 16 series) represent manufacturing complexity increases that compress the tolerance window for aftermarket display assemblies. As the baseline display specification advances, the gap between adequate manufacturing process discipline and inadequate manufacturing process discipline in aftermarket production widens. Inspection frameworks that were adequate for iPhone 12 OLED are not adequate for iPhone 16 Pro Max display assemblies.
Trend 2: Consumer awareness of display quality is rising faster than most suppliers expect.
Panel-to-glass adhesive quality affects touch sensitivity more than driver IC specs - especially after screen replacements. This category is underreported but critical. The same YouTube repair channels and right-to-repair communities that are raising consumer awareness of aftermarket parts are also raising awareness of what quality looks like - and what it doesn't. Customers in 2026 are more likely to know what mura is than they were in 2023. The market's quality tolerance is declining.
Trend 3: Part pairing software restrictions make quality inspection more important, not less.
As Apple's component serialization restricts some functions of aftermarket displays, the display's hardware quality becomes the primary differentiator - because software-level functionality (True Tone, automatic brightness) may be restricted regardless of screen quality. A shop that installs a visually degraded screen AND loses True Tone has a very difficult customer conversation. A shop that installs a visually perfect screen and has an honest conversation about True Tone restriction has a manageable one.
Trend 4: Marketplace and platform quality accountability is tightening.
For distributors supplying refurbishment operations - a growing customer segment - the Amazon Renewed ODR requirements and eBay "Item as Described" metrics mean display quality failures have account-level consequences, not just per-unit cost consequences. As this customer segment grows, wholesale suppliers who can demonstrate systematic quality inspection data become preferred supply partners over those who can't.
Trend 5: ISO quality management standards are becoming a baseline expectation.
ISO 9001 quality management certification and OLED/LCD display quality control processes are increasingly becoming expected requirements for wholesale electronics parts suppliers - not optional credentials. Wholesale buyers in EU markets in particular are beginning to include quality certification documentation as a standard requirement in supplier qualification processes, consistent with broader EU supply chain transparency expectations under the Right to Repair framework.
What to Ask Your Supplier Right Now?
Before the next batch ships, send your current iPhone screen supplier these five questions:
1. What AOI equipment do you use, and what defect categories does it screen for?
A serious manufacturer runs Automated Optical Inspection that catches dead pixels, mura clusters, and gamma inconsistencies. A supplier without AOI is relying on human visual inspection alone - adequate for some defects, inadequate for luminance uniformity at the panel level.
2. What is your spectrophotometer calibration process, and what ΔE threshold do you use for batch acceptance?
Any supplier claiming color-accurate display assemblies should be able to answer this with a specific ΔE number and describe the measurement equipment they use.
3. Can you share AOI rejection data from the last three production batches for my models?
The rejection rate before shipment is the factory-side data that your incoming inspection rate should validate against. If a factory says 0.3% of panels are rejected before shipping and your incoming inspection finds 2.5% defective, either their AOI isn't working or their sampling method isn't representative.
4. How do you test and validate flex cable quality - specifically for models prone to ghost touch?
Ghost touch traced to flex cable degradation is the single most common field failure we're asked about. A supplier with a serious answer to this question has thought about it. A supplier whose answer is "we test all screens before shipping" hasn't.
5. What is your batch-level traceability? If I find a quality issue in a batch next month, can you trace it back to a specific production run?
ISO 9001 compliance requires batch-level traceability. A factory with genuine ISO 9001 implementation can answer this yes, with specifics.
Frequently Asked Questions
What's the most important test in the 9-point framework for OLED screens?
The mura detection test (Check 4) - the mid-grey background at a 15–30° viewing angle. This is the test most commonly skipped in basic incoming inspection and the one most likely to catch the quality issues that produce customer complaints. Dead pixels are obvious; mura is the failure that slips through without this specific test.
How do I know if my supplier is actually running AOI at the production stage?
Ask to see the AOI rejection reports - data showing how many panels were rejected before shipping and why. A factory running AOI generates this data automatically. One that isn't cannot produce it.
Does a higher grade (Soft OLED vs. Hard OLED) automatically mean fewer failures in incoming inspection?
Higher grade specifies tighter manufacturing tolerances at production, which reduces defect probability - but doesn't eliminate it. Incoming inspection is still necessary regardless of grade. The benefit of higher grade is that your incoming inspection should confirm lower defect rates, not that incoming inspection becomes unnecessary.
How many units should I inspect from a new supplier's first batch?
100% of the first batch, regardless of size. The time investment for a 50-unit first batch is 2–3 hours. The information it provides about the supplier's actual quality - versus their claimed quality - is not obtainable any other way.
Can I use automated testing tools for incoming iPhone screen inspection?
Partially. Automated test jigs can handle touch response mapping and basic display function testing efficiently at volume. They cannot replicate the mura detection test (which requires human visual inspection at a controlled angle), the flex cable physical inspection (which requires visual examination), or the color temperature comparison (which requires a reference panel). The 9-point framework combines automated and human inspection appropriately.