Introduction
For repair shops and technicians, installing a new screen without testing it first is one of the most common mistakes that leads to unnecessary rework and customer complaints.
Before completing any iPhone screen replacement, it is essential to verify that the display is fully functional. Even high-quality screens can occasionally be damaged during shipping or handling.
Testing an iPhone LCD screen replacement before installation helps ensure:
- Stable display performance
- Accurate touch response
- No hidden defects
In this guide, we will walk you through the complete process of testing a screen before installation and explain how to avoid common issues.
Why Testing iPhone Screens Before Installation Is Important?
Many repair technicians skip the testing step to save time. However, this often results in:
- Screen flickering after installation
- Touch not responding
- Dead pixels or display lines
- Reopening the device (wasting time and labor)
For businesses handling wholesale iPhone screen orders, skipping testing can lead to higher return rates and lower customer satisfaction.

Tools Required for Screen Testing
Before starting, prepare the following tools:
- A working iPhone motherboard (test device)
- Screen testing cable (optional but recommended)
- Power supply or battery
- Clean working environment
Using proper tools ensures accurate testing of your iPhone LCD screen.
Step-by-Step Guide to Test iPhone LCD Screen
Step 1: Connect the Screen Without Full Installation
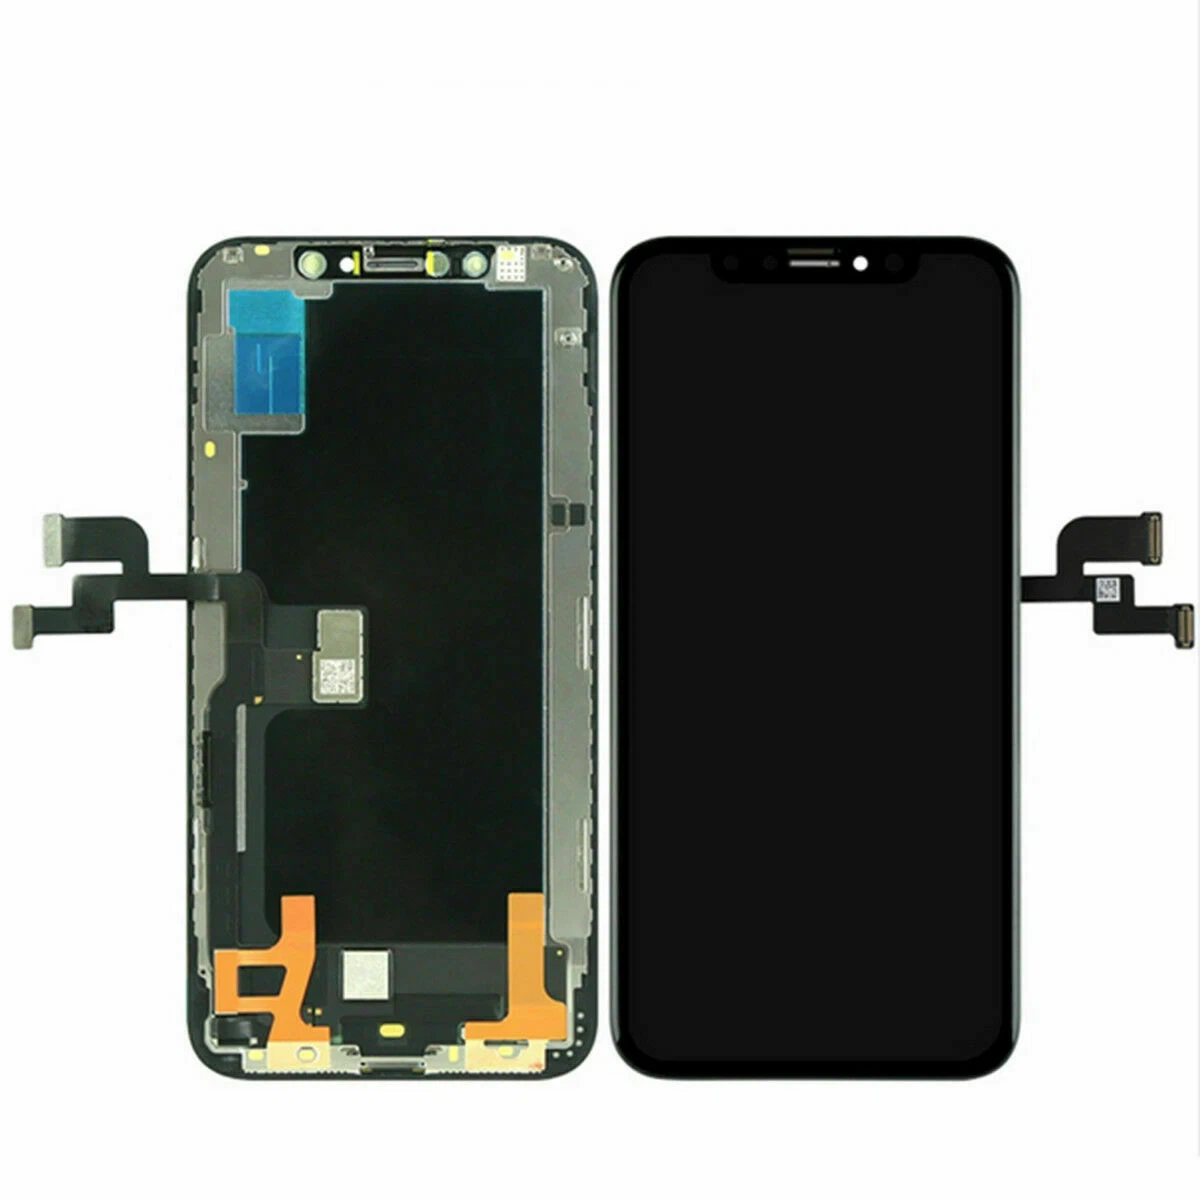
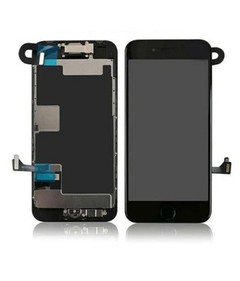
Before sealing the phone, connect the iPhone LCD screen replacement to the motherboard.
- Do not remove protective films yet
- Avoid applying adhesive
- Ensure connectors are properly aligned
This allows you to test the screen safely.
Step 2: Power On the Device
Turn on the device and observe the display.
Check for:
- Normal startup display
- No black screen or abnormal flickering
If the screen does not turn on, recheck the connectors.
Step 3: Check Display Brightness and Uniformity
Adjust brightness from low to high and observe:
- Whether brightness changes smoothly
- Any dark spots or uneven lighting
- Stability under high brightness
A high-quality AAA iPhone LCD screen should show consistent brightness.
Step 4: Test Touch Functionality
Test touch response across the entire screen:
- Swipe across all areas
- Test multi-touch
- Check edge responsiveness
Touch delay or dead zones indicate a defective screen.
Step 5: Check Color Accuracy
Open images or color test patterns and check:
- Natural color display
- No color distortion
- No yellow or blue tint
High-quality Incell iPhone LCD screens provide accurate color reproduction.

Step 6: Inspect for Dead Pixels or Lines
Carefully examine the screen for:
- Dead pixels (black or white dots)
- Vertical or horizontal lines
- Flickering areas
Even small defects can affect customer experience.
Step 7: Test True Tone and Brightness Adjustment
For compatible models, check:
- True Tone functionality
- Auto brightness adjustment
A reliable iPhone LCD screen supplier should provide screens that support these features.
Step 8: Final Functional Test
Before final installation, ensure:
- Display is stable
- Touch is responsive
- No visual defects
Only after passing all tests should you proceed with full installation.
Common Problems Found During Testing
1. Screen Not Turning On
Possible connector issue
Defective screen
2. Flickering Display
Low-quality screen
Backlight instability
3. Touch Not Working
Digitizer issue
Cable problem
4. Color Distortion
Poor-quality panel
Calibration issue
Tips to Improve Testing Efficiency for Repair Shops
Professional repair businesses follow these best practices:
- Always test screens before installation
- Use a dedicated test device
- Train technicians on inspection standards
- Work with reliable suppliers
This reduces errors and improves repair efficiency.
Why Screen Quality Matters During Testing?
Testing is important, but the quality of the screen matters even more.
Low-quality screens often show:
- Inconsistent brightness
- Weak touch response
- Short lifespan
High-quality iPhone LCD screen replacements ensure:
- Stable performance
- Lower failure rates
- Better customer satisfaction

Choosing Reliable Screens for Your Business
For repair shops and wholesalers, selecting the right product is key.
Recommended options:
AAA Incell LCD Screens
- Stable performance
- Cost-effective
- Ideal for bulk repairs
OLED Screens
- Premium display quality
- Higher cost
Working with a trusted iPhone LCD screen factory ensures consistent product quality and reliable supply.
Conclusion
Testing an iPhone LCD screen before installation is a crucial step that every repair professional should follow.
It helps prevent common issues, reduces rework, and ensures a smooth repair process.
However, testing alone is not enough-choosing high-quality screens from a reliable iPhone LCD screen supplier is equally important.
By combining proper testing procedures with high-quality products, repair shops and wholesalers can improve efficiency, reduce costs, and build long-term customer trust.