Hey there, fellow iPhone enthusiasts! If you're here, chances are your iPhone XS has a busted digitizer on its LCD screen, and you're looking to replace it. Well, you've come to the right place. I'm a supplier of iPhone XS LCD screens, and I'm gonna walk you through the process of replacing the digitizer on the iPhone XS LCD screen step by step.
Why Replace the Digitizer?
First off, let's talk about why you might need to replace the digitizer. The digitizer is the part of the screen that senses your touch. If it's not working properly, you might experience issues like unresponsive touch, inaccurate touch input, or even a completely non - functioning screen. It could be due to a drop, a crack, or just general wear and tear over time.
What You'll Need
Before you start the replacement process, you'll need to gather a few tools. Here's a list:
- A set of precision screwdrivers: You'll need different sizes to remove the screws on your iPhone XS.
- A suction cup: This will help you lift the screen assembly off the phone.
- A plastic opening tool: It's used to pry open the phone without scratching it.
- Tweezers: Useful for handling small components.
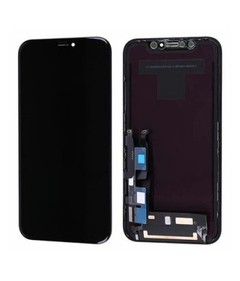
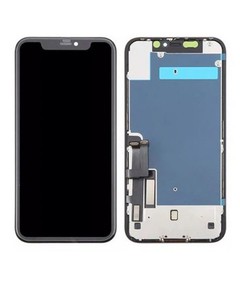
- Of course, a replacement digitizer. You can find high - quality IPhone XS Wholesale LCD Screens on our website.
Step 1: Power Off Your iPhone XS
This is a no - brainer, but it's important. Make sure your iPhone XS is completely powered off before you start taking it apart. You don't want to risk any electrical shorts or damage to the internal components.
Step 2: Remove the Bottom Screws
Flip your iPhone XS over and look at the bottom. You'll see two small screws on either side of the charging port. Use your precision screwdriver to remove these screws. Keep them in a safe place because you'll need them later.
Step 3: Lift the Screen Assembly
Take your suction cup and place it on the top of the screen, near the front camera. Gently pull up to create a small gap between the screen assembly and the back of the phone. Be careful not to pull too hard, as you don't want to damage the cables that connect the screen to the motherboard.
Step 4: Disconnect the Cables
Once you've created a small gap, use your plastic opening tool to carefully pry open the rest of the screen assembly. You'll see several cables connecting the screen to the motherboard. There are usually three main cables: one for the display, one for the touch sensor, and one for the front camera and sensors.
Use your tweezers to carefully lift the small tabs that hold the cables in place. Then, gently pull the cables out of their connectors. This part requires a steady hand, so take your time.
Step 5: Remove the Old Digitizer
With the screen assembly removed, you can now access the digitizer. The digitizer is usually attached to the LCD screen with adhesive. Use your plastic opening tool to carefully pry the digitizer away from the LCD screen. Be careful not to damage the LCD screen in the process.
Step 6: Prepare the New Digitizer
Before you install the new digitizer, make sure it's clean and free of any dust or debris. You can use a microfiber cloth to gently wipe it down. Also, check the connectors on the new digitizer to make sure they're in good condition.
Step 7: Install the New Digitizer
Align the new digitizer with the LCD screen and carefully press it into place. Make sure it's properly seated and that there are no air bubbles between the digitizer and the LCD screen.
Step 8: Reconnect the Cables
Now, it's time to reconnect the cables. Carefully line up the connectors on the new digitizer with the corresponding connectors on the motherboard. Press down gently until you hear a click, indicating that the cables are properly connected.
Step 9: Reattach the Screen Assembly
Place the screen assembly back onto the phone and align it with the back of the phone. Make sure it fits snugly. Then, use your precision screwdriver to reinsert the two bottom screws.
Step 10: Power On Your iPhone XS
Once you've reassembled your iPhone XS, power it on and test the new digitizer. Make sure the touch screen is working properly and that there are no issues with the display.
Other iPhone Screen Options
If you have an iPhone X instead of an iPhone XS, we also offer iPhone X LCD Screen. And for those with an iPhone XR, we have OEM IPhone XR Screen Replacement.
Contact Us for Procurement
If you're interested in purchasing our high - quality iPhone XS LCD screens or other iPhone screen replacement parts, we're here to help. Whether you're a repair shop looking for wholesale options or an individual in need of a single replacement part, we've got you covered. Just reach out to us, and we can discuss your requirements and get you the best deal.


References
- Apple iPhone XS User Guide
- Various online repair tutorials and forums


