

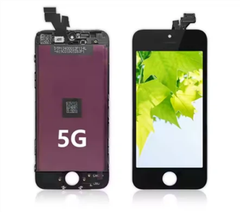
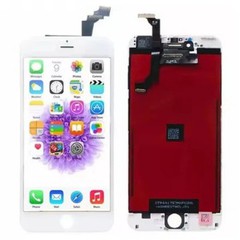
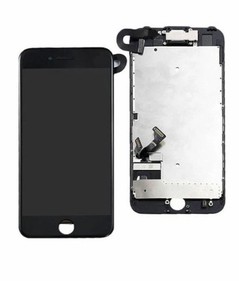
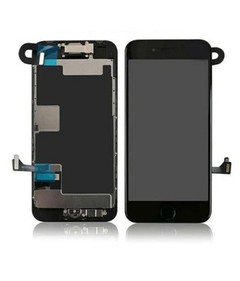
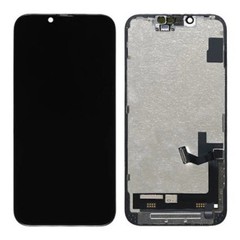
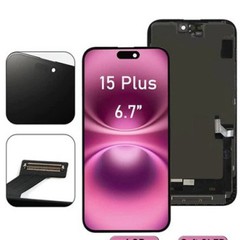
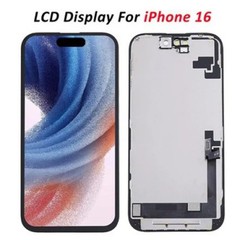

As a supplier of iPhone 6 LCD screens, I've witnessed firsthand the importance of a clear and reliable display for this iconic device. Whether it's due to accidental drops, scratches, or other damages, many iPhone 6 users find themselves in need of an LCD screen replacement. In this blog post, I'll guide you through the step-by-step process of disassembling the iPhone 6 to replace its LCD screen.
Step 1: Gather the Necessary Tools
Before you begin the disassembly process, it's crucial to have the right tools on hand. Here's a list of tools you'll need:
- Pentalobe Screwdriver: This specialized screwdriver is used to remove the two pentalobe screws located at the bottom of the iPhone 6.
- Phillips Screwdriver: You'll need a Phillips screwdriver to remove the Phillips screws inside the device.
- Spudger or Plastic Opening Tool: A spudger or plastic opening tool is used to pry open the back cover of the iPhone 6 without scratching the device.
- Tweezers: Tweezers are useful for handling small components and connectors during the disassembly process.
- Suction Cup: A suction cup can be used to lift the front glass assembly away from the back case of the iPhone 6.
Step 2: Power Off the iPhone 6
Before you start disassembling the iPhone 6, make sure the device is powered off. To power off the iPhone 6, press and hold the Power button until the "slide to power off" slider appears on the screen. Slide the slider to the right to turn off the device.
Step 3: Remove the Bottom Screws
Using the pentalobe screwdriver, remove the two pentalobe screws located at the bottom of the iPhone 6. These screws secure the back cover of the device to the front glass assembly.
Step 4: Pry Open the Back Cover
Once the bottom screws are removed, use a spudger or plastic opening tool to pry open the back cover of the iPhone 6. Start at the bottom of the device and work your way around the edges, gently prying the back cover away from the front glass assembly. Be careful not to apply too much pressure, as this could damage the device.
Step 5: Disconnect the Battery
After the back cover is removed, you'll see the battery and other internal components of the iPhone 6. Before you can proceed with the LCD screen replacement, you need to disconnect the battery to prevent any electrical damage. Use a spudger or plastic opening tool to carefully lift the battery connector tab, which is located near the top of the battery. Once the tab is lifted, the battery connector can be easily disconnected.
Step 6: Remove the Front Glass Assembly
With the battery disconnected, you can now remove the front glass assembly from the back case of the iPhone 6. Use a suction cup to lift the front glass assembly away from the back case. Start at the bottom of the device and gently pull up on the suction cup until the front glass assembly is loose. Be careful not to pull too hard, as this could damage the device.
Step 7: Disconnect the LCD Screen Connector
Once the front glass assembly is removed, you'll see the LCD screen and other components of the iPhone 6. Before you can remove the LCD screen, you need to disconnect the LCD screen connector, which is located near the top of the device. Use a spudger or plastic opening tool to carefully lift the connector tab, which is located above the LCD screen connector. Once the tab is lifted, the LCD screen connector can be easily disconnected.
Step 8: Remove the LCD Screen
With the LCD screen connector disconnected, you can now remove the LCD screen from the front glass assembly. Use a spudger or plastic opening tool to carefully pry the LCD screen away from the front glass assembly. Start at the bottom of the device and work your way around the edges, gently prying the LCD screen away from the front glass assembly. Be careful not to apply too much pressure, as this could damage the device.
Step 9: Install the New LCD Screen
Once the old LCD screen is removed, you can now install the new LCD screen. Place the new LCD screen on the front glass assembly and align it with the holes and connectors. Make sure the LCD screen is properly seated and there are no gaps or misalignments.
Step 10: Reconnect the LCD Screen Connector
After the new LCD screen is installed, you need to reconnect the LCD screen connector. Use a spudger or plastic opening tool to carefully insert the connector into the socket, making sure it is properly seated. Once the connector is inserted, use the spudger or plastic opening tool to press down on the connector tab to secure the connector in place.
Step 11: Reattach the Front Glass Assembly
With the new LCD screen installed and the connector reconnected, you can now reattach the front glass assembly to the back case of the iPhone 6. Align the front glass assembly with the back case and press down gently to secure it in place. Make sure the front glass assembly is properly seated and there are no gaps or misalignments.
Step 12: Reconnect the Battery
After the front glass assembly is reattached, you need to reconnect the battery. Use a spudger or plastic opening tool to carefully insert the battery connector into the socket, making sure it is properly seated. Once the connector is inserted, use the spudger or plastic opening tool to press down on the connector tab to secure the connector in place.
Step 13: Replace the Back Cover
With the battery reconnected, you can now replace the back cover of the iPhone 6. Align the back cover with the front glass assembly and press down gently to secure it in place. Make sure the back cover is properly seated and there are no gaps or misalignments.
Step 14: Replace the Bottom Screws
Once the back cover is replaced, use the pentalobe screwdriver to replace the two pentalobe screws located at the bottom of the iPhone 6. Make sure the screws are tightened securely, but not too tight, as this could damage the device.
Step 15: Power On the iPhone 6
After the bottom screws are replaced, you can now power on the iPhone 6. Press and hold the Power button until the Apple logo appears on the screen. Once the device is powered on, check the LCD screen to make sure it is working properly.
Conclusion
Replacing the LCD screen of an iPhone 6 can be a challenging task, but with the right tools and a little patience, it can be done. By following the steps outlined in this blog post, you can disassemble the iPhone 6 and replace its LCD screen with ease.
If you're in the market for high-quality iPhone 6 LCD screens, look no further. As a leading supplier of iPhone 6 LCD screens, we offer a wide range of products to meet your needs. Our AAA Grade IPhone 6S LCD Display and Ultra-Clear IPhone 6 Plus LCD Screen are designed to provide crystal-clear visuals and reliable performance. We also offer a comprehensive guide on Change IPhone 6s Plus Screen to help you with the replacement process.
If you have any questions or would like to discuss your requirements, please don't hesitate to contact us. We're here to help you find the perfect LCD screen for your iPhone 6.


References
- iFixit. (n.d.). iPhone 6 Screen Replacement. Retrieved from https://www.ifixit.com/Guide/iPhone+6+Screen+Replacement/11347
- Apple. (n.d.). iPhone 6 User Guide. Retrieved from https://support.apple.com/manuals/iphone


