

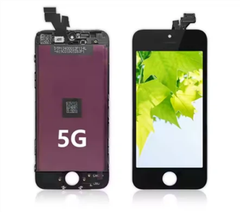
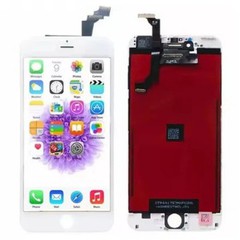
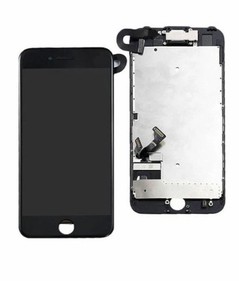
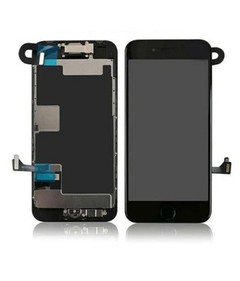
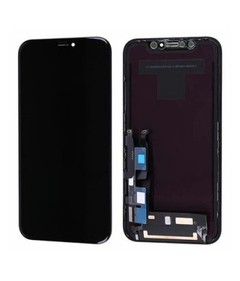
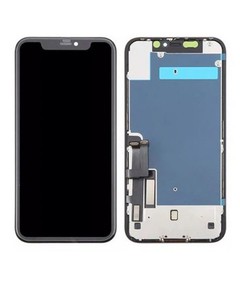
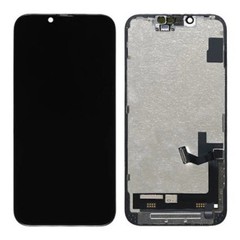
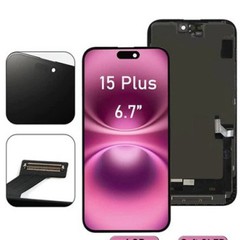
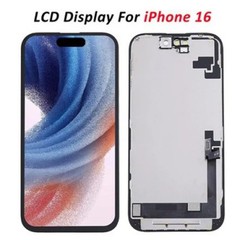

Hey there, iPhone users! If you're dealing with an iPhone 6 Plus that has a broken power button and a busted LCD screen, you've come to the right place. I'm an iPhone 6 Plus LCD screen supplier, and I'm here to walk you through the process of replacing that screen. It might seem like a daunting task, but with the right tools and a bit of patience, you can get your phone looking and working like new again.
What You'll Need
First things first, let's talk about the tools you'll need for this job. You don't need a whole bunch of fancy equipment, but having the right stuff will make the process a lot easier. Here's what you should gather:
- A replacement LCD screen for the iPhone 6 Plus. You can find these pretty easily online, and of course, I'm here as a supplier if you need one.
- A set of precision screwdrivers. You'll need different sizes to remove the screws on your phone.
- A suction cup. This will help you lift the front panel of the phone without damaging it.
- A plastic opening tool. This is used to pry open the phone without scratching the casing.
Preparing Your Workspace
Before you start taking your phone apart, it's important to set up a clean and organized workspace. Find a flat surface where you can lay out all your tools and parts. It's also a good idea to use an anti-static mat to prevent any static electricity from damaging the sensitive components inside your phone.
Removing the Old Screen
Okay, now it's time to get down to business. The first step is to remove the two small screws at the bottom of the iPhone 6 Plus. These are usually located on either side of the charging port. Use your precision screwdriver to carefully unscrew them and set them aside in a safe place. You don't want to lose these tiny screws!
Once the screws are out, take your suction cup and place it in the middle of the front panel of the phone. Gently pull up on the suction cup to create a small gap between the front panel and the back casing. Be careful not to pull too hard, or you could damage the cables that connect the front panel to the rest of the phone.
Next, take your plastic opening tool and insert it into the gap you just created. Slowly work your way around the edge of the phone, prying the front panel loose. You might encounter a bit of resistance in some places, but just be patient and keep working at it. Once the front panel is loose, carefully lift it up and set it aside.
Now, you'll see a bunch of cables connecting the front panel to the rest of the phone. There are usually three or four cables, depending on the model of your iPhone 6 Plus. Use your plastic opening tool to carefully disconnect these cables. There are usually small tabs or clips that you need to lift or slide to release the cables.
Once all the cables are disconnected, you can remove the old LCD screen from the front panel. There are usually a few screws holding the screen in place, so use your precision screwdriver to remove them. Then, gently lift the old screen out of the front panel and set it aside.
Installing the New Screen
Now that you've removed the old screen, it's time to install the new one. Start by placing the new LCD screen in the front panel. Make sure it's lined up correctly and that all the holes for the screws are aligned.
Next, use your precision screwdriver to screw the new screen into place. Make sure the screws are tightened securely, but don't over-tighten them, or you could damage the screen.
Once the new screen is installed, it's time to reconnect the cables. Carefully line up the cables with their corresponding connectors on the phone and press them into place. You should hear a little click when the cables are properly connected.
Now, carefully place the front panel back onto the back casing of the phone. Make sure it's lined up correctly and that all the edges are flush. Then, use your plastic opening tool to press the front panel back into place around the edge of the phone.
Finally, insert the two small screws at the bottom of the phone and tighten them securely.
Testing Your New Screen
Once you've installed the new screen and put your phone back together, it's time to test it. Turn on your iPhone 6 Plus and see if the screen is working properly. Check to make sure the touch screen is responsive and that the display looks clear and bright.


If you encounter any problems, such as a black screen or a non-responsive touch screen, double-check all the cables to make sure they're properly connected. You might also need to remove the front panel again and check for any loose screws or other issues.
Where to Get a Replacement Screen
If you're in the market for a replacement LCD screen for your iPhone 6 Plus, I'm here to help. As a supplier, I offer high-quality screens at competitive prices. You can also check out some of these useful links for more information: Replace IPhone 6 Screen, B2B IPhone 6S Plus Display Suppliers, and iPhone 6S LCD Screen.
Contact for Procurement
If you're interested in purchasing iPhone 6 Plus LCD screens in bulk or have any questions about our products, feel free to reach out. We're always happy to discuss your needs and provide you with the best solutions.
References
- Apple Inc. iPhone 6 Plus User Guide.
- Various online repair guides and forums.


